4. Device connection module
- Search for devices and synchronize the LAN. The detailed operations are as follows:
- The first one: Mobile phone WiFi connection, connect to the corresponding WiFi on the mobile phone WiFi connection interface, and confirm that the WiFi signal is smooth. After completing the above operations, click the device module on the homepage and re-search the button. You can also click the manual add button. For detailed operations, see 4.2.
- Second type: WiFi connection of the engraving machine. Connect to the WiFi sent by the machine on the WiFi connection interface of the mobile phone. The default password is 12345678. After completing the above operations, click the device module on the homepage and re-search the button.
- When the search yields no results
- When there is no engraving machine connected to the WiFi, a device not found nearby page will appear. At this time, you need to check whether the engraving machine and the app are correctly connected to the same WiFi, or click the refresh button below to search for the device again.
- When the engraving machine is in an abnormal state, please check the network and engraving machine WiFi connection or try to refresh and reconnect.
- Manually add devices, the steps are as follows
- Click the Manual Add button on the homepage to enter the device list
- The mobile phone needs to be connected to 2.4GHz WiFi
- When the phone is on, press the power button five times in succession and you will see
- Confirm engraving machine parameters
- When selecting equipment on the search page, a confirmation engraving machine parameter diagram will pop up. Users can select the laser module according to their own model. The pop-up window will automatically display the component dimensions of the engraving machine and cannot be modified;
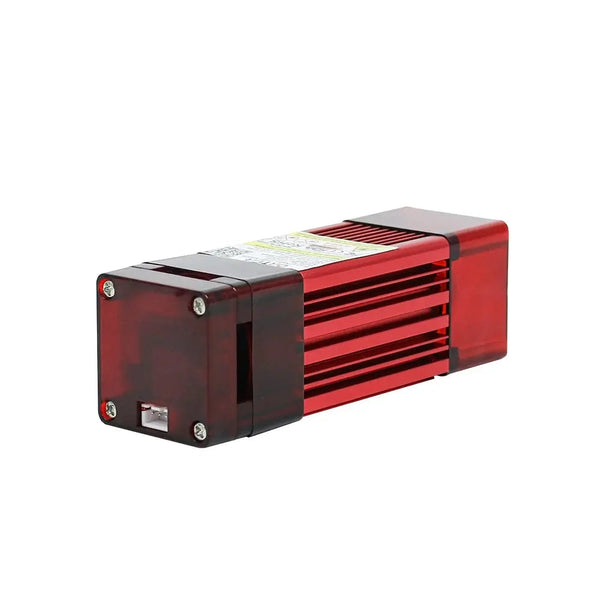
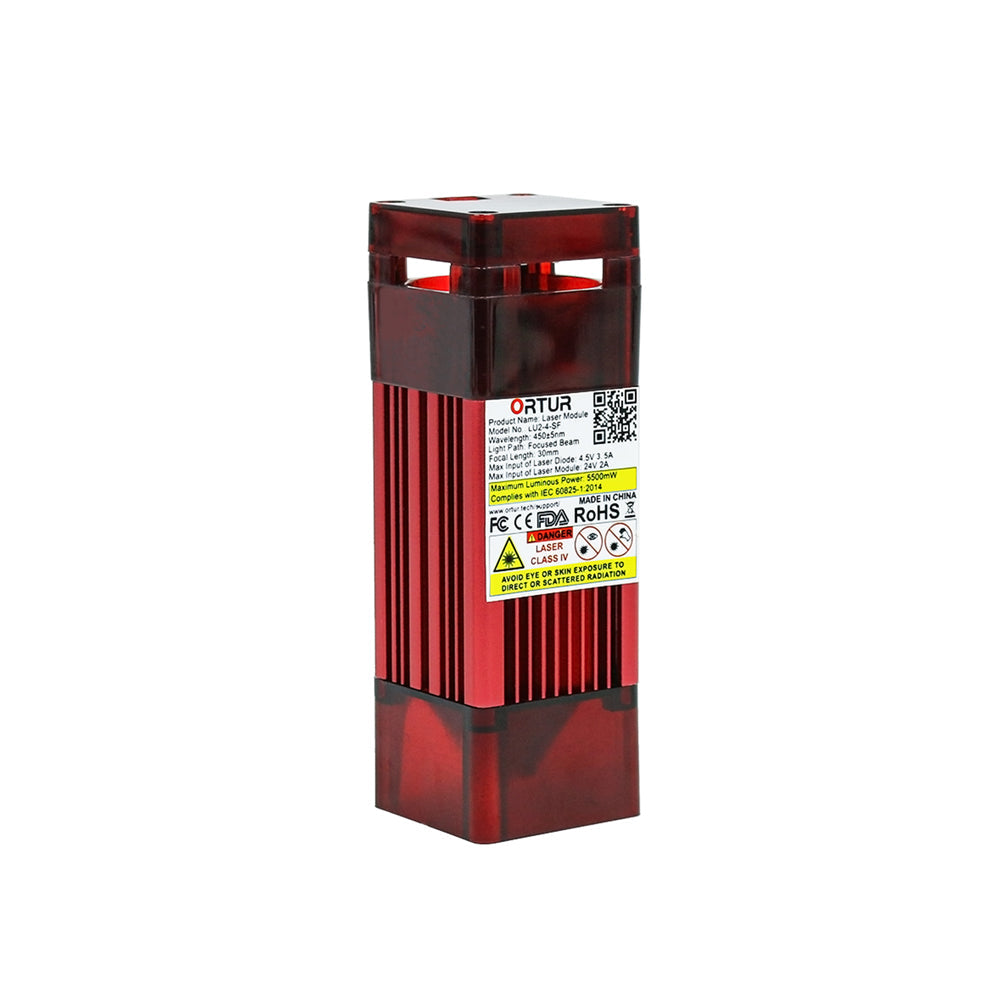
- The system provides a laser module, which is the default laser module initially provided by the system. It is also the most adaptable laser module and is safer;
- Laser module: The LU model laser head is directly related to the laser head of the user's own engraving machine. The laser head is very dangerous. It is prohibited to use it directly on people during use. After the printing and engraving machine configuration is completed, there will be a system The button prompts whether to turn on the laser head. Please make sure it is safe before engraving and using it;
- After the adaptation is completed, click to confirm the connection and enter the homepage for the next step.
- Engraving machine configuration
- After successfully connecting to the engraving machine, click the device connection module to enter the engraving machine configuration interface;
- After entering the engraving machine configuration interface, you can view the specific information of the engraving machine, such as engraving machine model, engraving machine printing range, laser module, WiFi, and other detailed information and firmware updates
- Users can replace the laser module on this page and view detailed information. The detailed information page is as shown in the figure. Finally, click the firmware update button to view and update the current app version.
-
Home page device connection display(The machine card on the homepage has three connection states: not connected, connected and device disconnected.)
- The device is not connected: The device is in a state where the engraving machine is not connected to the app. You can click the search button to search for the device on the search page;
- When the device is connected, the device and app are in normal status and printing can be performed normally. Click the card to view device details;
- When the engraving machine encounters an abnormal situation after the device is connected and the engraving machine is disconnected, the user can click the reconnect button to reconnect, or click Research to search.